Spring Isolation Make: Paule Jumpsuit
“So are we, spirit and flesh, clothed head to toe in the goodness of God.” From All Will Be Well a book of devotions on the writing of Julian of Norwich
Once, many years ago in a conversation with my father, I remember sharing some plan of my young family’s with him and using the phrase “foreseeable future” to describe the time frame in which we intended to achieve these plans. He cocked a shaggy brow, fixed me with a sharp grey eye and asked what in the world I meant by “foreseeable future.” I could only laugh that my own naiveté and priveledge led me to believe such a thing ever existed.
There are so very many things I could never have known were coming in the “foreseeable future” just a month or two ago. Now, both hindered and empowered by the weight of responsibility, trying to quantify the benefit of sacrifice by what doesn’t happen, I sometimes feel like I’m back in the shifting tides of grief. White-capped peaks of anxiety and frustration alternate with rising swells of peace and patience.
In this fluctuating emotional state, our household has found busy hands and regular routines to add both desperately needed structure and gentleness to our day. We are getting dressed in the morning, committing to a flexible schedule, and revisiting the same daily rituals. This has served as both the strength of bone and the softness of flesh. We find ourselves clothed from head to toe in the goodness of God.
Intentionally adding time in our daily routine for myself to work on creating with my hands has been utterly indispensable. It is a distraction, yes, but it is also providence itself. I keep my hands productive, I quiet my mind, I awaken my ability to approach my Creator in simple presence, and I clothe my body. For me, there is no better self care.
In order to keep things simple and cost effective, I’m also choosing to only have one one work in progress going at a time. Last week, as the world both shrank and expanded at once, The Paule Jumpsuit from Republique du Chiffon struck just the right note for the current season in which we have all been collectively stalled.
The pattern is simple and easy to follow, with the added interest of a lovely and unique angular waist seam, offsetting and adding structure to the otherwise cocoon shaped garment.
I started with a natural linen cotton blend that I’ve used before, many times. It is a light but still has a nice weight to it and significant enough body to add structure to an oversized piece like the jumpsuit. The only problem is that as soon as I got it home, I wanted a richer color. I decided to tea dye a test swatch and was very pleased with results.
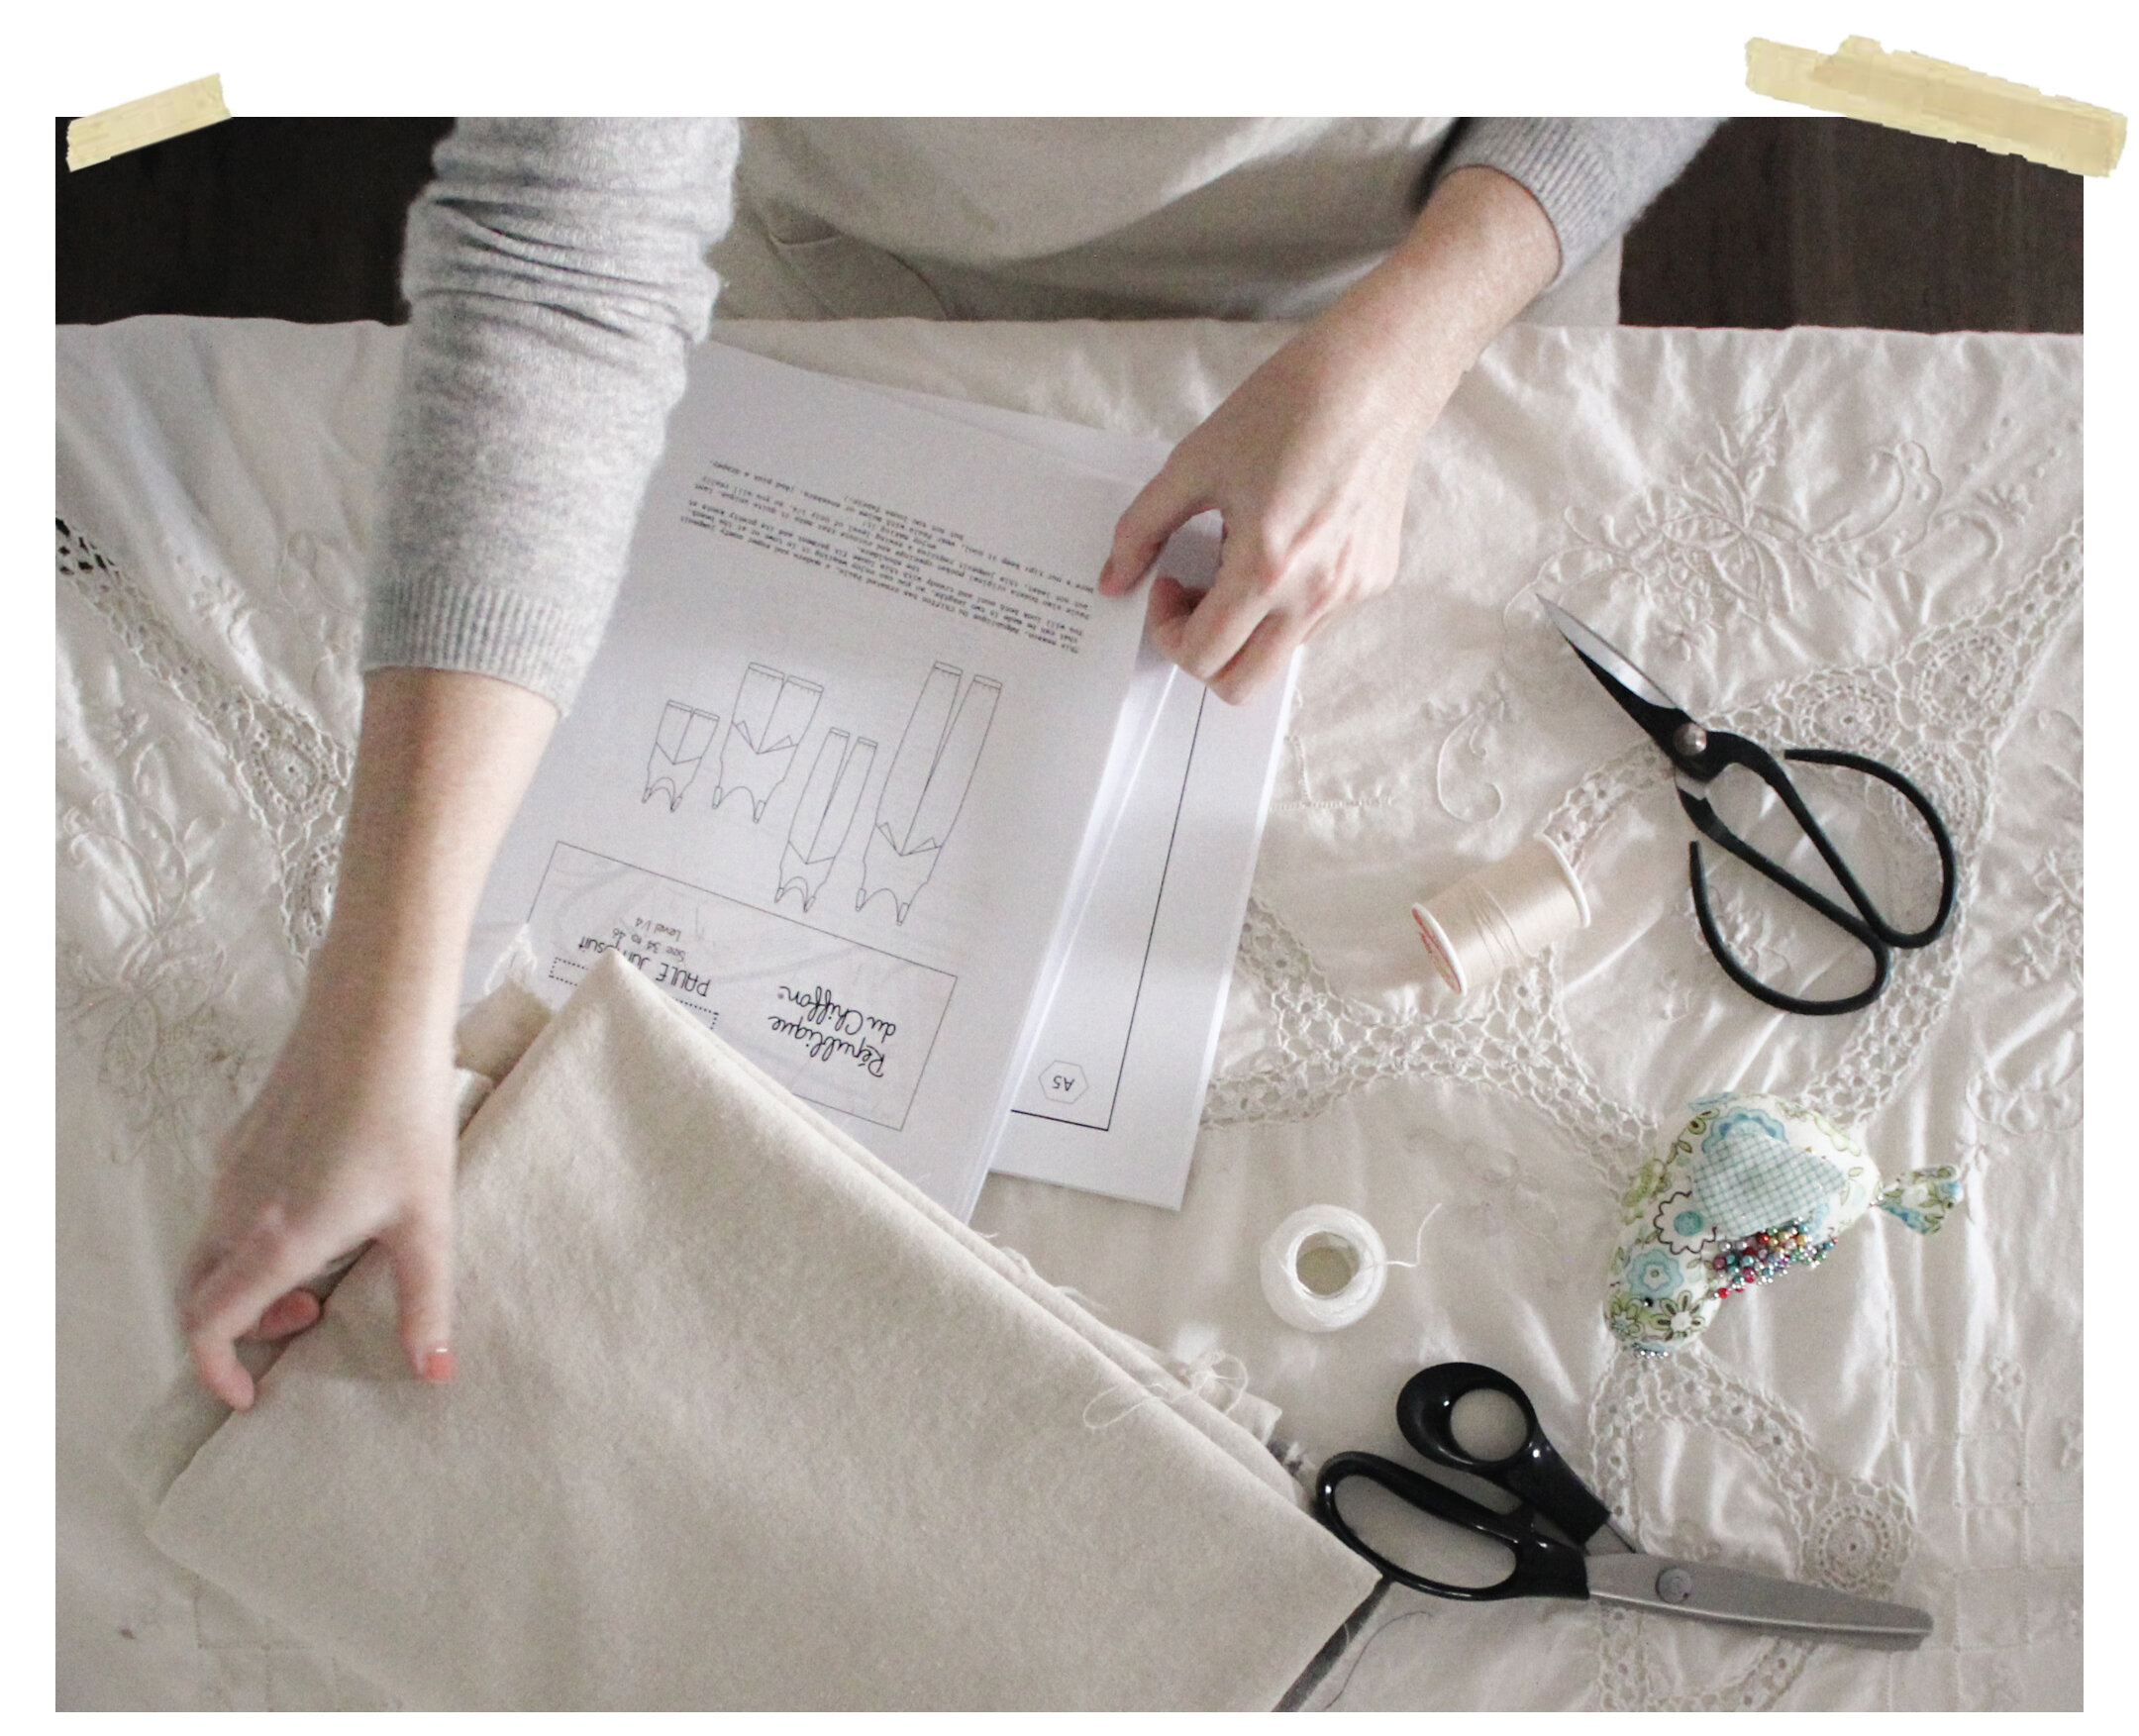
Adjustments
Because the pattern had the cocoon shape, pull on styling, tank straps, and scoop neck I was looking for, it did not require many adjustments to make it just about perfect. However, I knew that the front and back bodice piece would need some tweaks in order to get the perfect fit. I took these pattern pieces and traced them onto some large butcher paper I had, then began penciling in the adjustments I wanted.

First, I shortened the straps. The original pattern calls for long straps designed to be tied at the shoulder, but I wanted a simple tank strap, so I measured a tank top I have, added an inch for seam allowance, and adjusted my new pattern piece accordingly.
The next thing I adjusted was adding darts to the front bodice panel. I got out the front bodice pattern piece from my Hinterland dress, laid it over the traced front bodice pattern from the Paule Jumpsuit, and traced the shape of the dart, extending out form the edge of the bodice pattern and adding the guide lines for sewing.

Finally, I added two inches to the bodice length as a means of bringing up the armholes and necklines a few inches. By adding length to the bodice and shortening the straps, I effectively made the armholes and neckline higher. To do this, I measured two inches down from the bottom line of the original pattern and drew a new bottom line on both the front and back panels. I also had to bring the armhole curve of the back panel down an inch to accommodate the difference in length in the front panel caused by the addition of the dart.

When it all came together, I had to take up the straps another two inches to get the fit right, but the shape turned out perfectly. This is a tough one to mess up, because the waist sizing is so loose and open. The addition of the bust darts helped to give it just a touch of extra tailoring. My favorite part of the pattern is the angled front pockets. I love the extra visual interest and shape they give the jumpsuit.
Tea Dying
The next step was a risky one, as the piece, though simple, does require a hefty amount of fabric to try to dye, and my dying vessel (aka thrifted stock pot) is relatively small.
But what is living without risk?
I added about a cup of water for every ounce of fabric used. The piece weighs about 11 ounces, so 11 cups of water went into the dye vessel to boil on my stove top. I added one tea bag for every cup of water. When the water came to a boil, I reduced the heat to a simmer and let the tea bags steep for about ten minutes. I then removed all the tea bags and discarded them, pre-soaked the jumpsuit in water, and lowered it in to the dye vessel, attempting to minimize scrunching and folding as I went. I turned the heat off completely and used a pair of tongs I have only for dying purposes to stir the jumpsuit in the dye bath. I would let it sit for a few minutes, then go back and stir, trying to make sure all the nooks and crannies had their turn to be exposed to the dye bath as evenly as possible. I knew from experience that a piece of this size is likely to have some splotchy areas, but I had already decided that I was fine with that outcome.
After about fifteen minutes of soaking and stirring, I carefully drained as much of the tea out into the sink as possible, then I ran the jumpsuit through a gentle washing cycle with minimal soap. It was then hung dry inside (not in the bleaching sun), and ironed.
I have never, ever had such luck with tea dying! My guess is that the natural fiber took the tea stain better than items I’ve tied to dye before. The light grey-ish color of the natural linen deepened and warmed to a lovely soft camel color.

You can see on the front bodice some splotchier areas where the tea stain isn’t perfectly even. Nothing is perfect, nothing is permanent, nothing is complete-I’m very happy with the result. If the stain begins to fade, it is a fairly painless and inexpensive process to re-dye it. The jumpsuit itself fulfills all the hopes I had for it, including the ability to layer it over a sweater or top, and the ability to wear it alone in warmer weather. I will likely wear a camisole under it as the water warms, but I tend to veer toward the modest when it comes to coverage.
This spring isolation make was very satisfying and easy, with the added bonus of some thoughtful adjustments that challenged my skill without stressing me out. Let me know if you have any questions about the pattern or process. I’m happy to help!
xo Nicole
